Manage global type/category dialog box
This topic describes the purpose of the Manage global type/category dialog box. However if you require a step-by-step procedure on setting the type and category refer to How to set the type and category of case identifiers.
This feature is only available to administrators, or users who have the Global identifiers manager permission selected on the Edit user screen.
The Manage global type/category dialog box allows you to set the selected identifier's type and category. This adds the identifier to the Imported identifiers tab so that the identifier's details become available throughout OSS-ESPA.
For white list identifiers, there are some predefined categories that you can select such as airlines and banks, however you can also add and delete categories.
Note, any changes you make to the available types and categories impacts all global identifier users on your OSS-ESPA account.
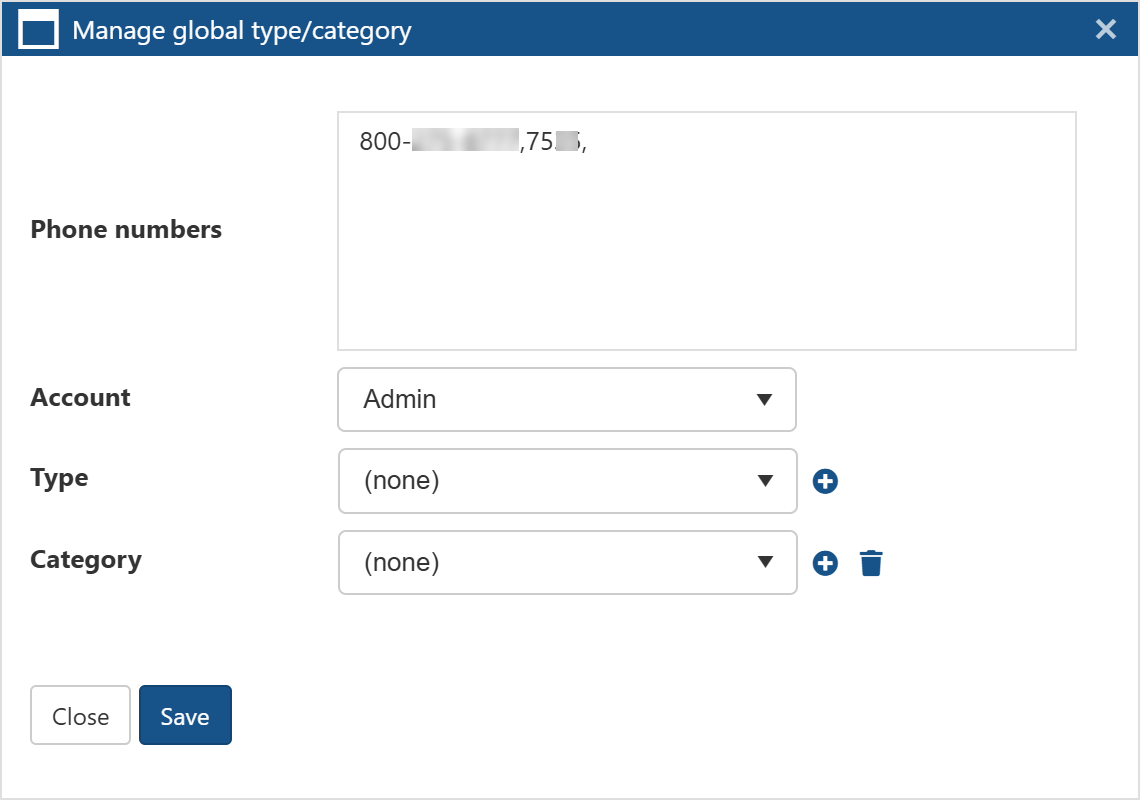
This lists all the identifiers that you selected prior to clicking Manage selected global type/category. Any changes you make are applied to all the selected identifiers.
Select which account you want the edit applied to. If you manage multiple accounts and want to apply it to them all then select System.
Select the identifier's type. Gladiator Forensics provides a selection including: phone book, report system, RMS (Report Management System), subscriber list and whitelist, however you can create your own types by clicking  alongside Type. OSS-ESPA treats all the identifier types in the same way, and displays the type on the global identifier screens to provide you with the details of the original source of the identifier. White list identifiers are treated the same way as the other identifier types but additionally they are included in the OSS-SRN Express Portal's X-Case queries and the G-Scout App's X-Case deconflictions.
Select the identifier's category.